Sometimes you need to check a fiber link but do not have a full test set on hand. Learning how to test fiber optic cable without a tester — or with only the simplest tools — can help you catch obvious faults like breaks, bends, and dirty connectors. This guide covers what you can realistically check without professional equipment, the simple tools that make it possible, and the important limits of these methods.
A quick reality check: you cannot accurately measure loss or certify a fiber without proper instruments. But you can often find a break, a bad connector, or a rough fault location with visual methods.
What You Can (and Can’t) Check Without a Full Tester
Without an optical power meter, light source, or OTDR, you cannot measure insertion loss, confirm a loss budget, or certify a link to a standard. What you can do is look for gross physical faults: a complete break, a severe bend, a disconnected or filthy connector, or roughly where light stops passing. Think of these as first-pass sanity checks, not certification.
Start With the Most Likely Culprit
Before reaching for any tool at all, it helps to know where fiber faults usually hide. Industry experience is consistent on this point: contamination on the connector end face is the single most common cause of fiber problems, ahead of breaks, bad splices, or equipment faults. That means the highest-value first move when you lack a tester is almost always to unmate, inspect, and clean the connectors, then re-mate and see whether the symptom changes. Many “dead” links are simply dirty ones. Only after ruling out contamination is it worth investigating breaks and bends with a visual fault locator. Working in this order — contamination first, physical faults second — resolves a surprising share of problems with no measurement equipment at all.
Method 1: Visual Inspection of Connectors
The most useful no-cost check is your eyes plus a fiber inspection scope if you have one. Contamination on the end face is the single most common cause of fiber problems. Remove the dust cap and look for dirt, oil, or damage. If you have a fiber microscope or digital probe, inspect the core and cladding zones for particles or scratches. Even without a scope, a visibly damaged or filthy connector is a strong clue. Clean with the inspect–clean–inspect method and re-check.
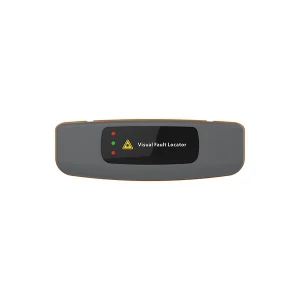
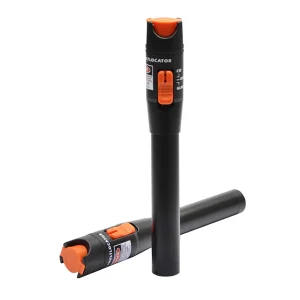
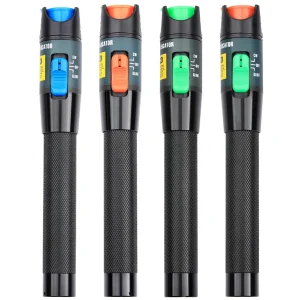
Method 2: Visual Fault Locator (VFL)
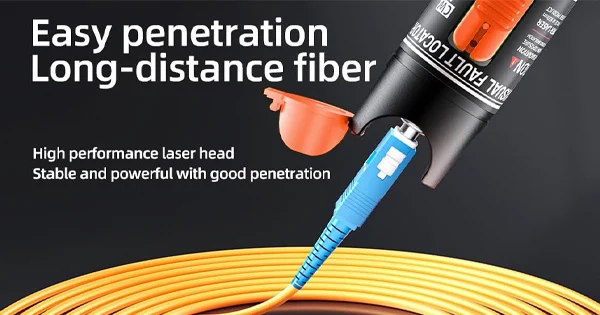
A visual fault locator is an inexpensive, pocket-sized tool that is not a full “tester” but does far more than the naked eye. It injects a bright red laser (visible light) into the fiber. Where the light escapes, you have found a problem:
- A break or sharp bend glows red at the fault point, even through a cable jacket in many cases.
- A bad splice or connector leaks visible red light at the joint.
- Continuity is confirmed when red light appears at the far end of the fiber.
A VFL is the closest thing to “testing without a tester,” and it is a staple in most fiber kits precisely because it is so quick for finding faults over short distances.
Method 3: The Far-End Light Check
If you have any safe, known light entering one end of the fiber, you can look for it at the far end — but never look directly into a fiber that may carry laser light, as the wavelengths used are invisible and can harm your eyes. This is why a VFL, which uses visible red light, is the safe way to do a continuity check by eye. Absence of light at the far end suggests a break somewhere along the run.
Getting the Most From a Visual Fault Locator
Because a visual fault locator is the single most useful tool when you lack a full test set, it is worth using it well. Connect the VFL to one end of the fiber with a clean connector, then work along the cable looking for escaping red light. Bends, kinks, and breaks glow at the fault; a bad connector or splice leaks red at the joint; and light reaching the far end confirms continuity over the run. A VFL is most effective over shorter distances — typically a few kilometers — and is especially handy for confirming which fiber in a bundle is which, or verifying polarity in patch panels. It will not quantify loss, but for quickly answering “is it broken, and roughly where?” nothing cheaper comes close.
Fiber Safety Without a Tester
Working with fiber by eye demands basic laser-safety discipline, precisely because the light involved can be invisible. Never look directly into a fiber end, a connector, or a port that may be carrying light — the wavelengths used in networks are outside the visible range and can injure your eyes before you notice anything. Treat every fiber as potentially live, keep unused ports capped, and use a fiber scope or a VFL’s visible red light rather than your unaided eye to inspect or trace. Handle stripped fiber and shards carefully and collect them in a sharps container. These habits cost nothing and keep improvised testing safe.
What These Methods Miss
| Check | Without a Tester | Needs Proper Equipment |
| Dirty / damaged connector | Visual inspection or scope | — |
| Break or sharp bend | VFL (visible red light) | — |
| Continuity (short runs) | VFL far-end check | — |
| Insertion (optical) loss | Not possible | Power meter + light source (OLTS) |
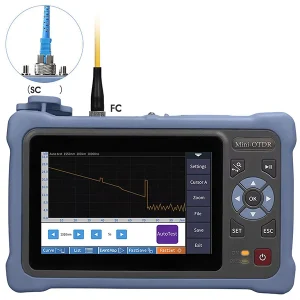
| Exact distance to fault | Not possible | OTDR |
| Certification to standard | Not possible | OLTS (Tier 1) / OTDR (Tier 2) |
A Sensible Field Routine Without Full Gear
When you are caught without a complete test set, a simple routine still catches most faults. Start by inspecting and cleaning the connectors, since contamination is the most common problem and costs nothing to rule out. Next, use a visual fault locator to confirm continuity and look for escaping red light at bends, breaks, and bad joints along the run. If light reaches the far end cleanly and the connectors inspect well, the link is probably physically sound — though still unverified for loss. Note what you checked and flag the link for proper insertion-loss testing when equipment is available. This sequence will not certify anything, but it reliably separates “obviously broken” from “looks intact,” which is often exactly the triage you need in the moment.
Why Proper Testing Still Matters
Visual methods find obvious faults, but they cannot tell you whether a link meets its loss budget or will reliably support a given application. A link can look fine to a VFL and still have too much loss from dirty connectors, poor splices, or bends. That is why standards require an optical power meter and light source for Tier 1 insertion-loss certification, and an OTDR for Tier 2 fault characterization. If a fiber carries important traffic, it deserves proper testing.
Affordable Tools That Change the Game
You do not need a lab to test fiber properly. A visual fault locator, a fiber inspection scope, and a basic power meter and light source cover the vast majority of field needs at a reasonable cost. Aevumix supplies the full range — VFLs, inspection scopes, optical power meters, light sources, and OTDRs — so you can move from guesswork to real measurement. If you would like help choosing an affordable starter kit, contact our team.
FAQs
Can I Really Test a Fiber Optic Cable Without a Tester?
You can check for obvious faults — breaks, sharp bends, and dirty or damaged connectors — using visual inspection and a visual fault locator. You cannot measure loss or certify the link without proper instruments like a power meter, light source, or OTDR.
What Is the Cheapest Way to Find a Fiber Break?
A visual fault locator (VFL) is the most affordable option. It sends visible red laser light down the fiber; where the light escapes at a break, sharp bend, or bad joint, you have located the fault.
Is It Safe to Look Into a Fiber to Check It?
No. Never look directly into a fiber or a port that may carry laser light, because the wavelengths are invisible and can damage your eyes. Use a VFL’s visible red light or a fiber scope instead of your unaided eye.
Can Visual Inspection Replace Loss Testing?
No. Inspection finds contamination and physical damage, but a clean-looking link can still fail its loss budget. Insertion-loss testing with a power meter and light source is required to confirm performance.
What Minimum Tools Should a Fiber Kit Have?
At a minimum: a visual fault locator, a fiber inspection scope, cleaning tools, and a power meter with a light source. That combination lets you inspect, find faults, and measure loss for most everyday work.